Create a user
This guide covers how to create a fully working user, from the Account API up to a confirmed login on the Centralize Login.
For testing, use email aliases with + on the support@phpcreation.com
mailbox to keep every test email accessible from a single inbox, e.g.
support+loganB@phpcreation.com.
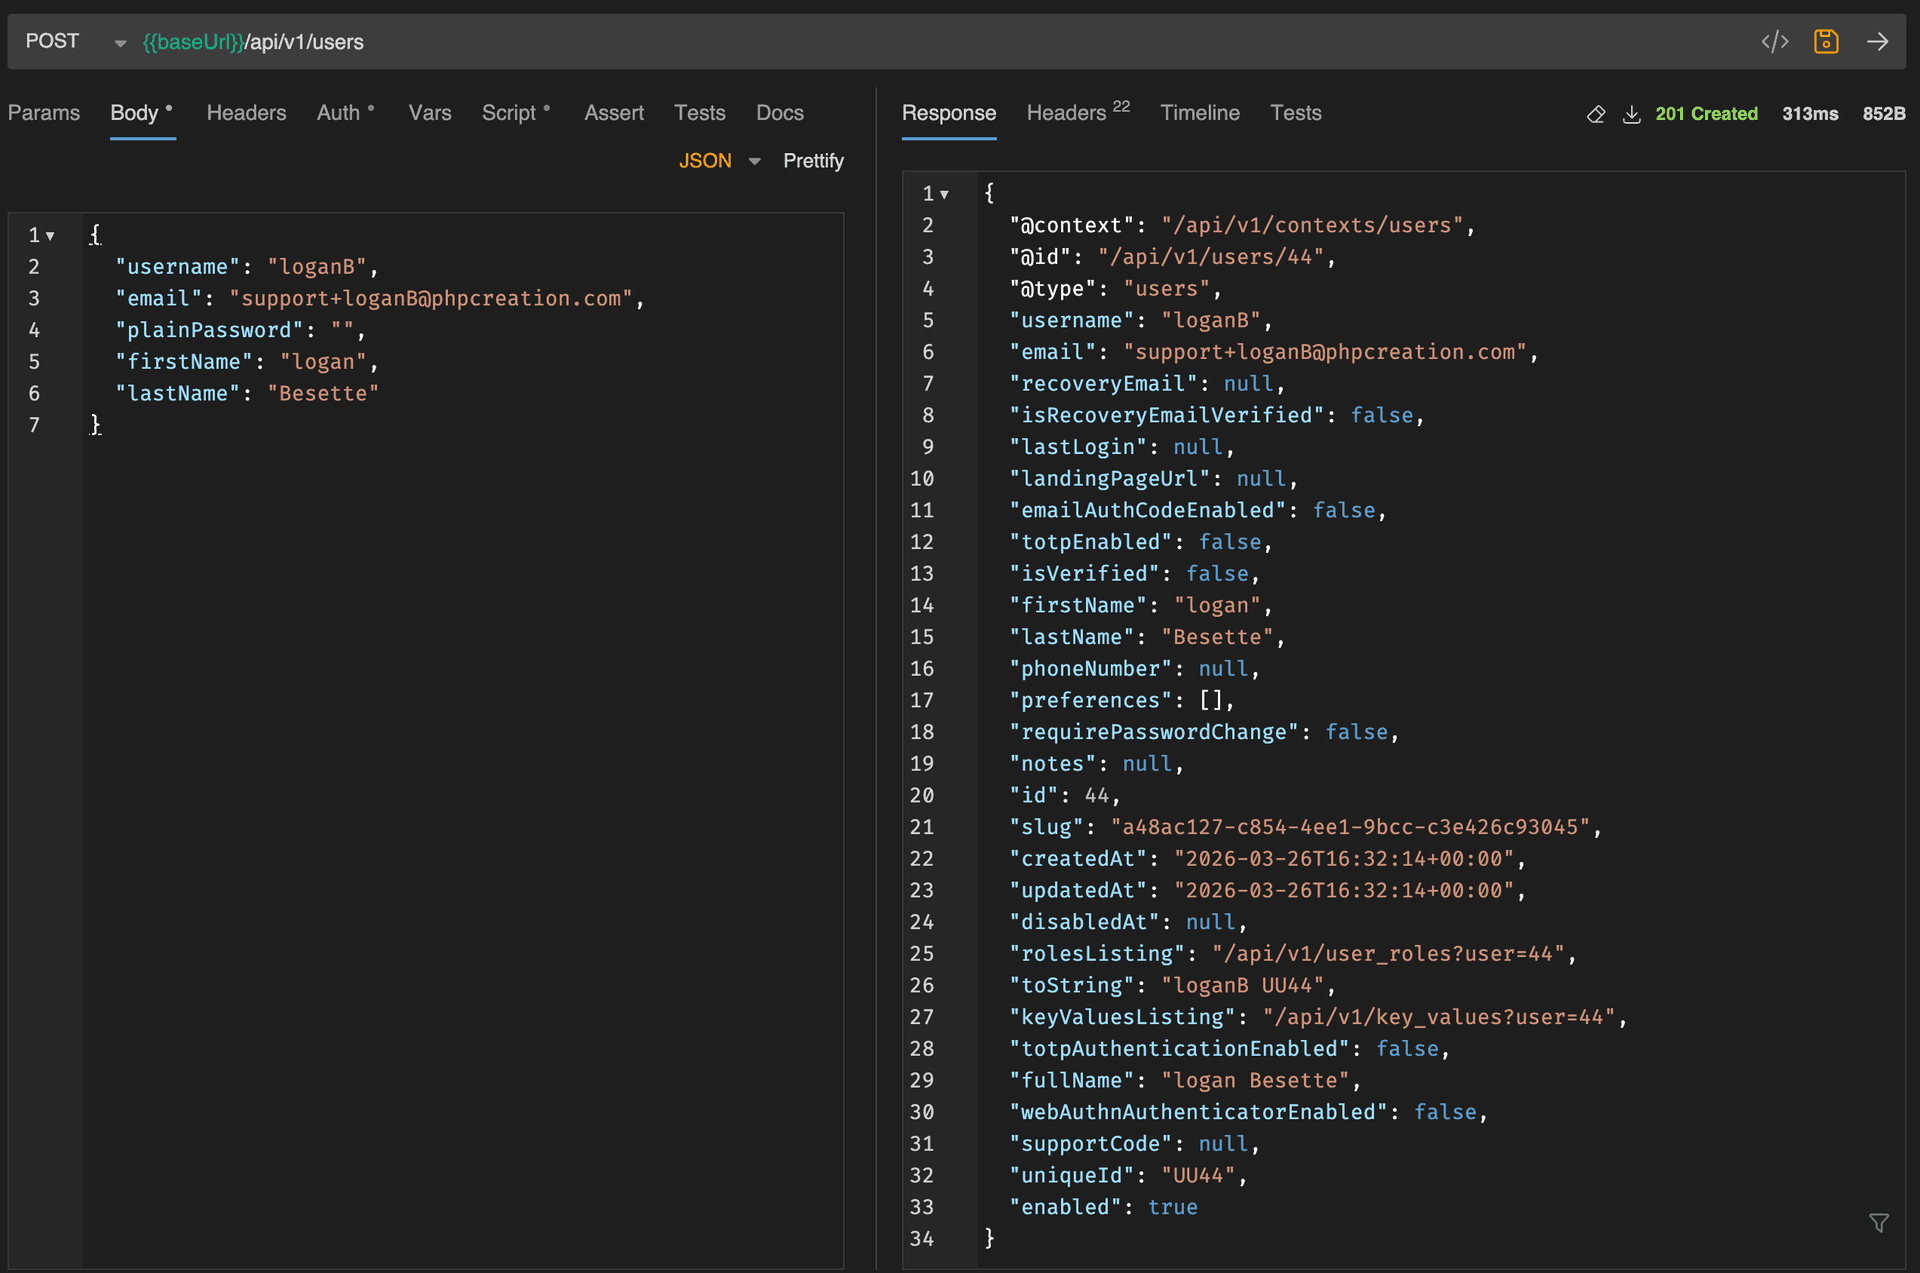
Create the user on the Account API
Ref: POST https://demo1.dev.account.solidservice.link/api/v1/users
{
  "username": "loganB",
  "email": "support+loganB@phpcreation.com",
  "plainPassword": "",
  "firstName": "logan",
  "lastName": "Besette"
}
See Account API Calls for more Account API endpoints.
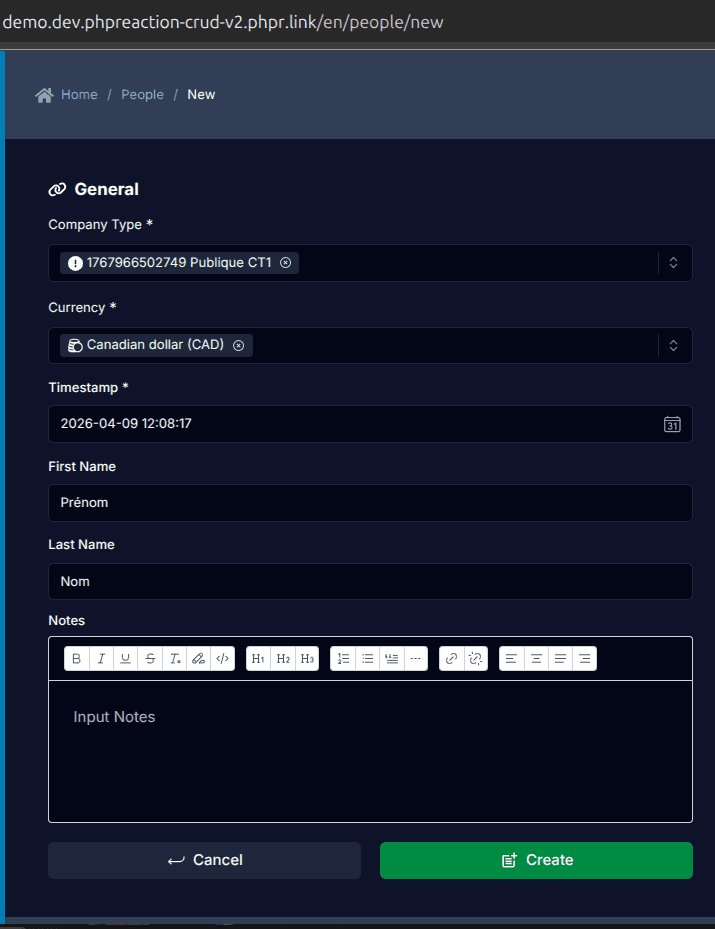
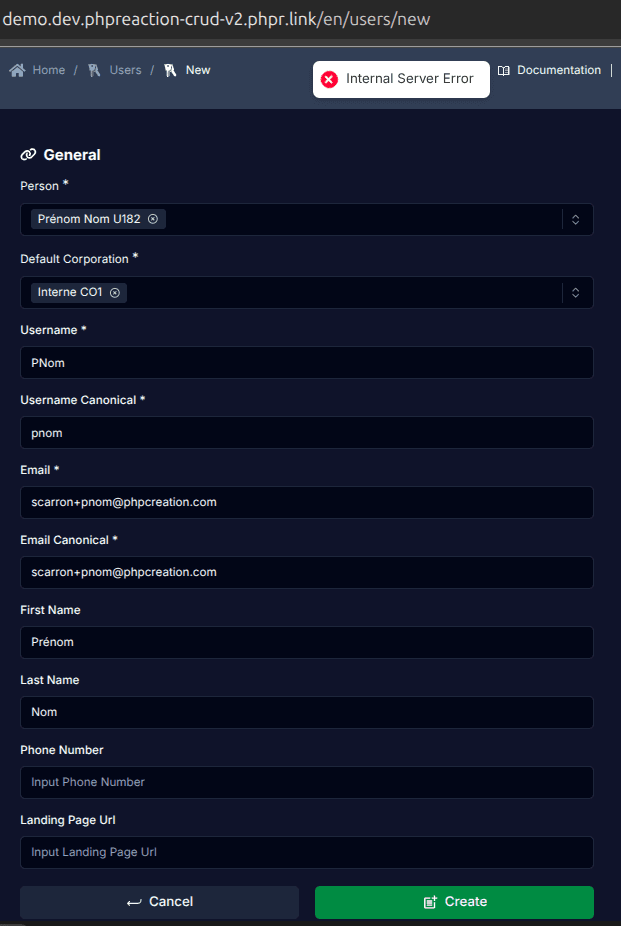
Create a person and a user in PHPR
The person and user records must also exist in PHPR itself. Depending on the project, this is done either through the Legacy interface or through CRUD v2.
Legacy
Creating a person and a user is not available in CRUD v2 yet, so the Legacy interface is used for now.
Create a person
Ref: https://demo.phpreaction.com/person/new
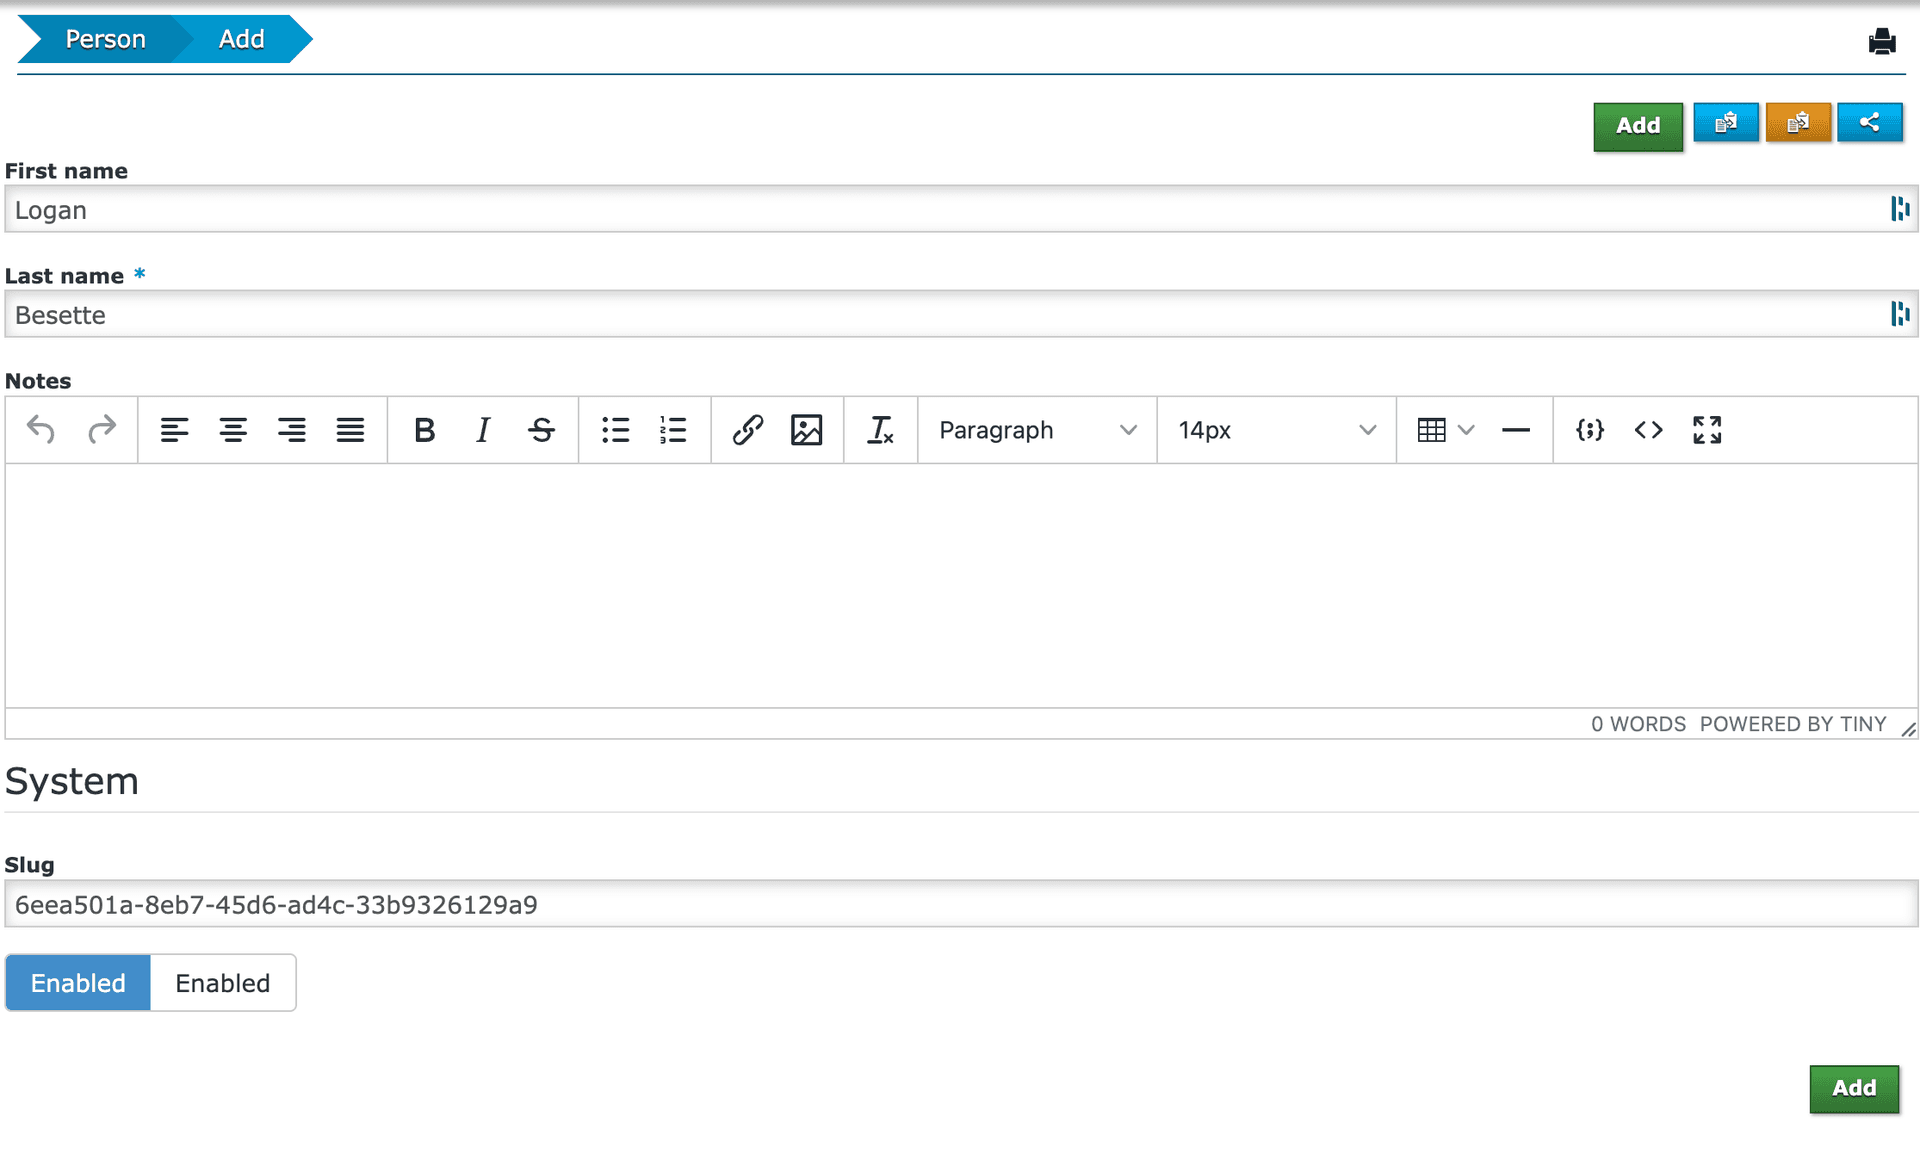
Add access to the person
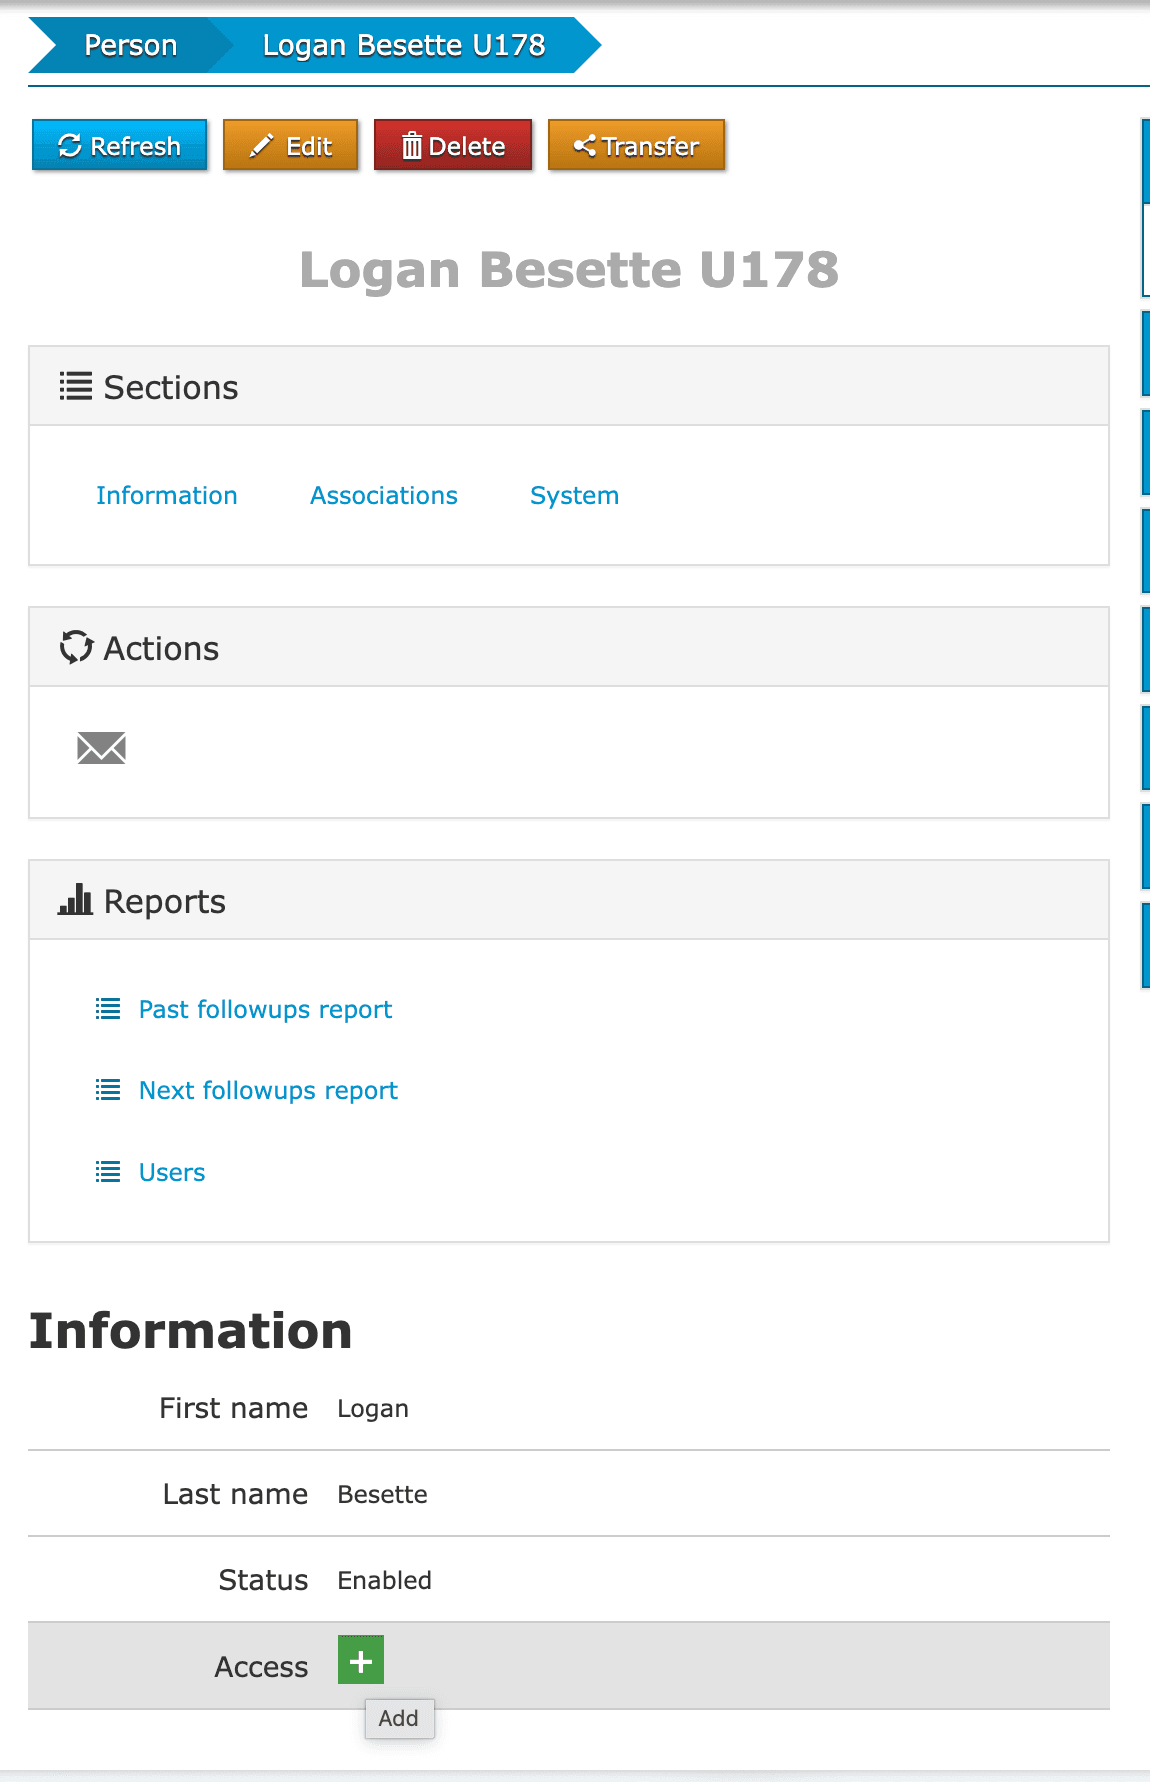
Give the exact same information as the one created on the Account API,
especially the slug. The slug must be identical on both sides — it
is what links a PHPC person/user to its Account API user.
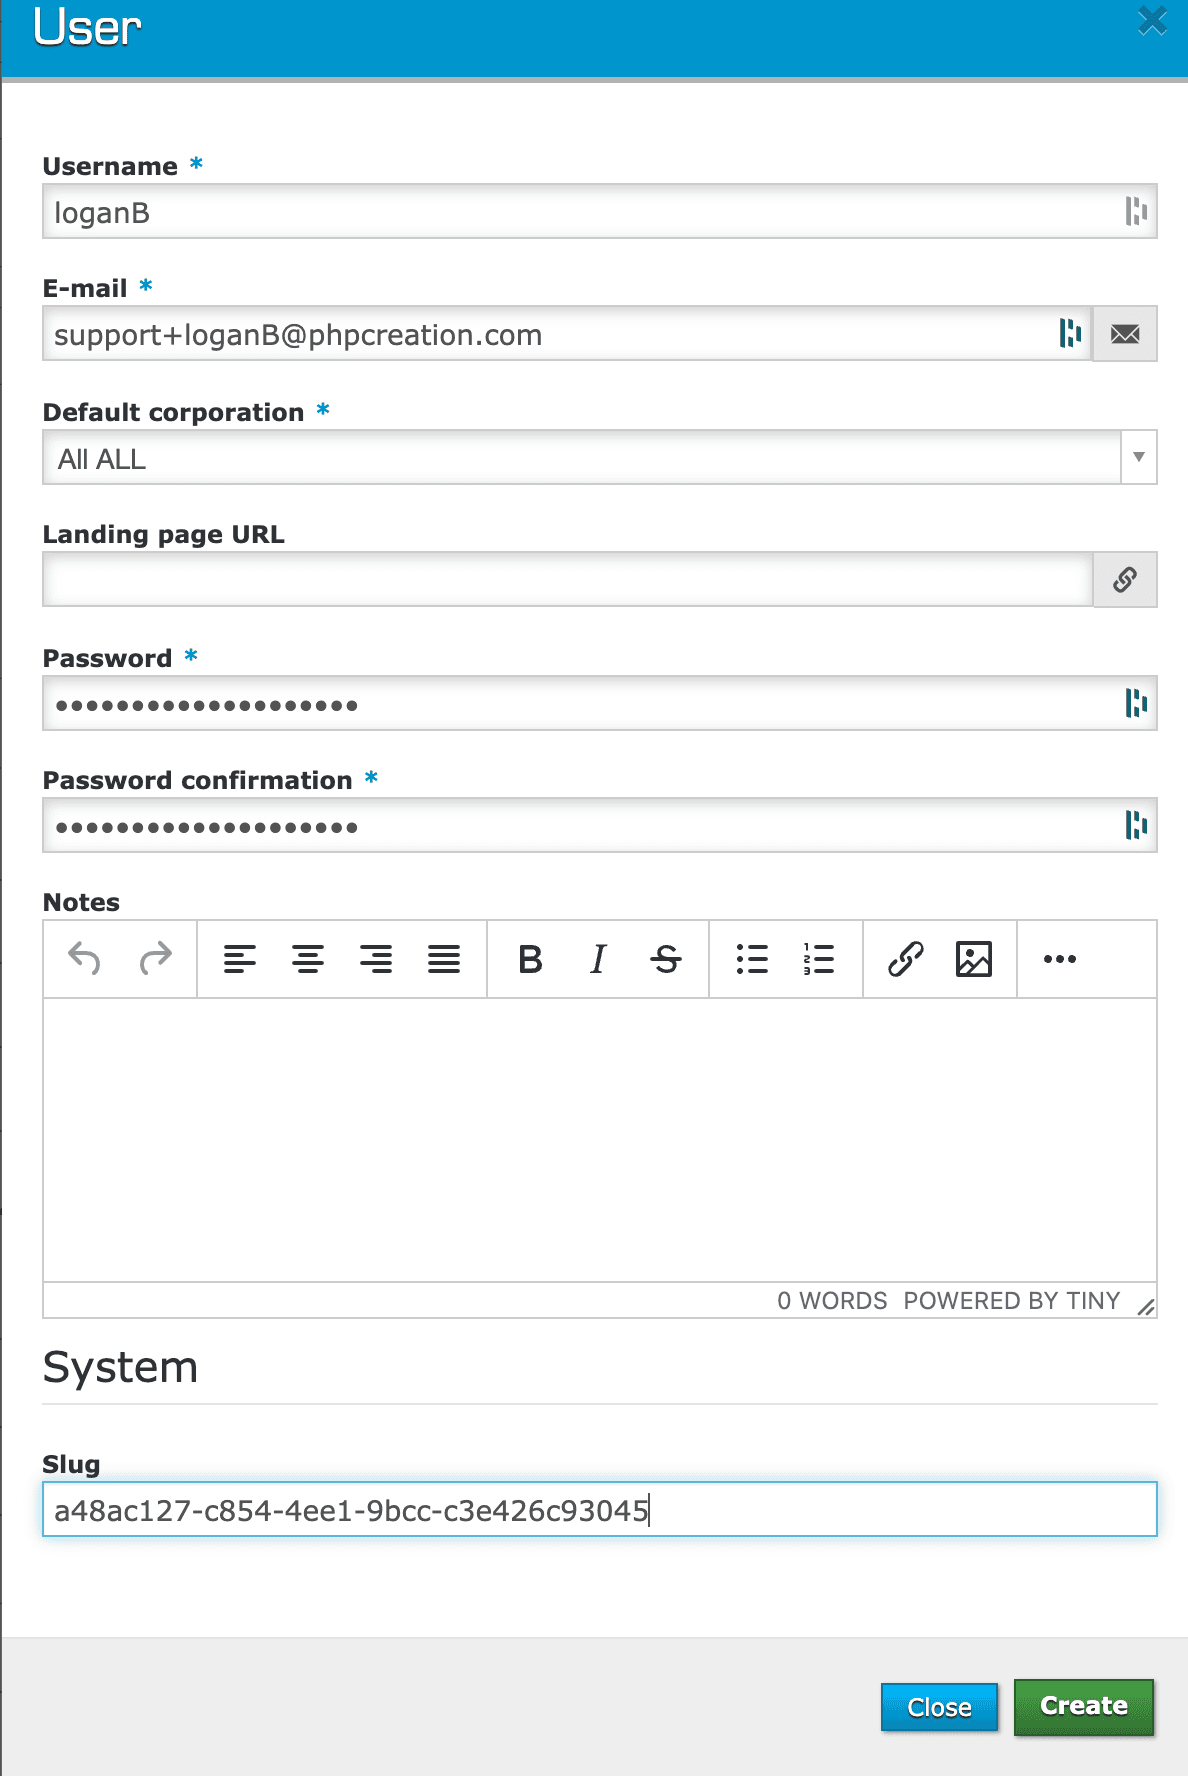
Assign roles and company
Go to the user you just created: https://demo.phpreaction.com/user/X
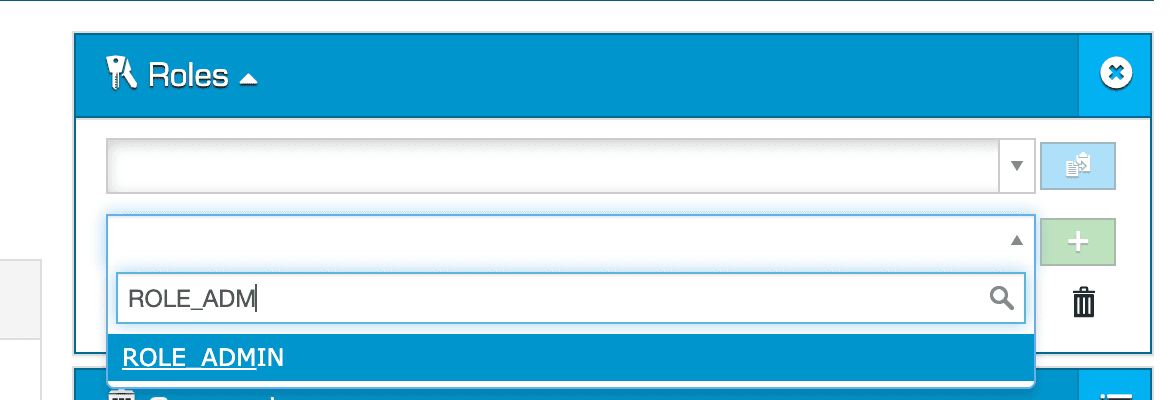
- Give that user the roles you want:
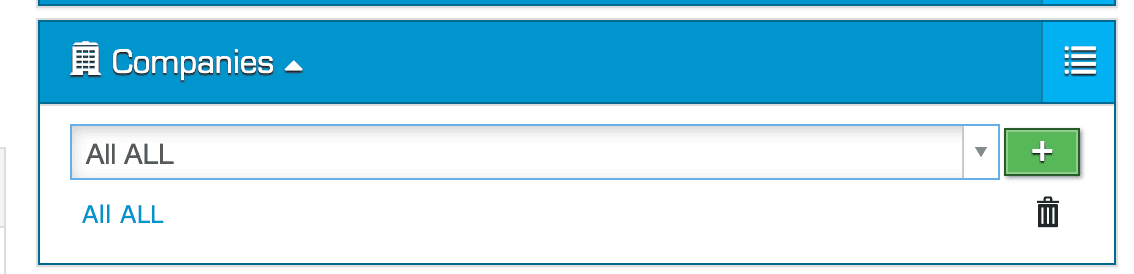
- Give that user the company
All ALL:
Login and confirm the email
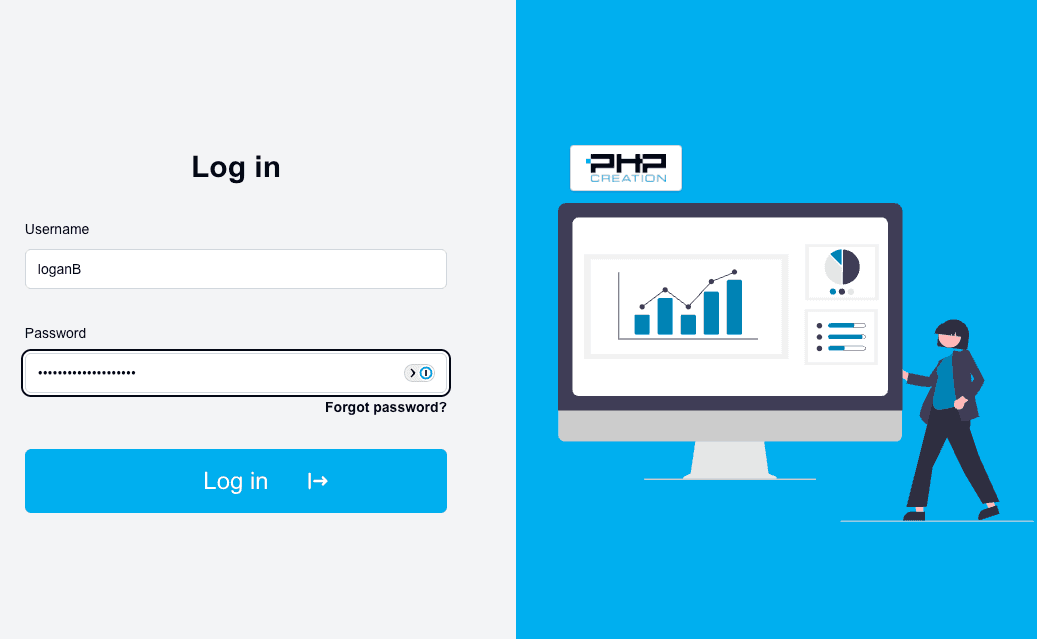
- Login to the Centralize Login:
Ref: https://demo1.dev.login.phpr.link/en
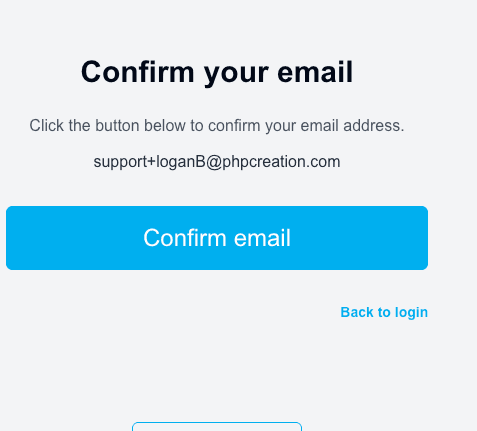
- Confirm the email:
- Get the confirmation code from the test email inbox (the
support+alias@phpcreation.comaddress used when creating the Account API user):
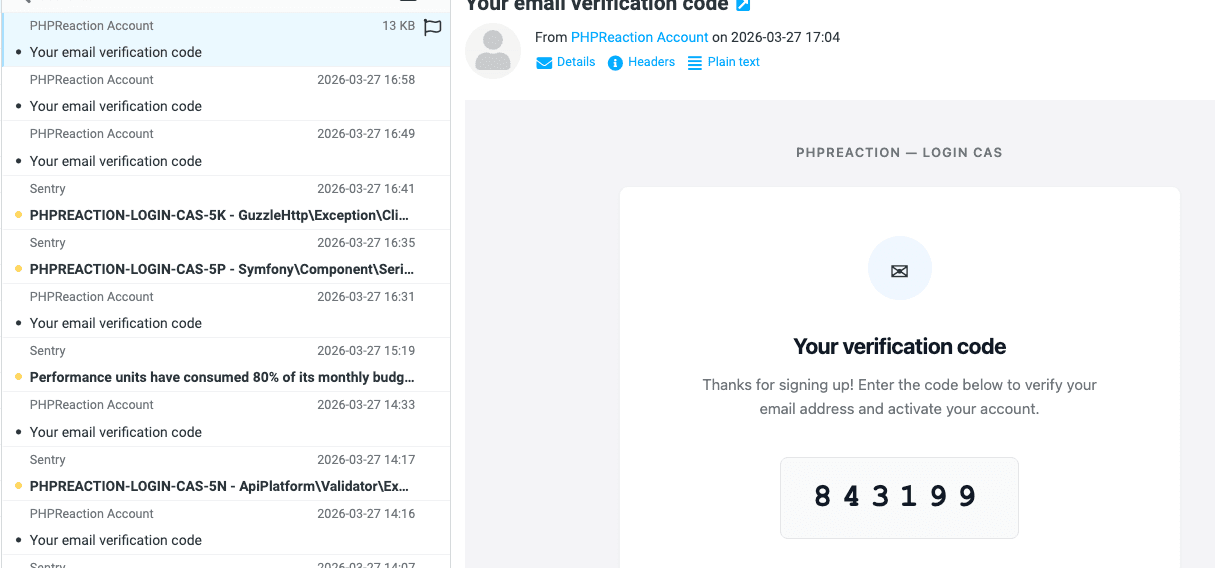
- Enter the code in the confirmation form to complete the login.